Guide
Embroidery hoop sizes and fields explained
Published
Note: This page contains affiliate links. If you buy through them we may earn a commission at no extra cost to you. Learn more
In short
An embroidery machine's field is the largest area it can stitch in one hooping. Common home fields are about 100 x 100 mm, 130 x 180 mm, 160 x 260 mm and 200 x 300 mm. A 100 x 100 mm field suits small motifs and names, while larger fields handle cushion fronts, quilt blocks and jacket backs. Designs bigger than the field must be resized or split into parts.
Products for this job
Compare all 5 productsBrother PE900: 5 x 7 in field with wireless LAN
Check price on AmazonAffiliate linkJanome MC100E: 274 designs, 140 x 140 mm field
Check price on AmazonAffiliate linkBrother Innov-is M380D: sews and embroiders, Disney designs
Check price on AmazonAffiliate link
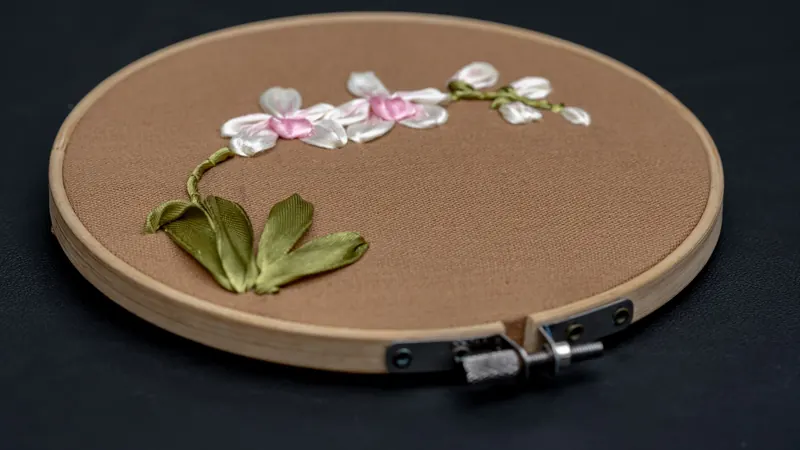
When you compare embroidery machines, the embroidery area is one of the biggest differences between models, and it decides which projects you can stitch in one go. Hoop names vary between brands, which adds confusion: two hoops that look similar may have quite different stitching fields. This explainer covers the common field sizes, what fits in each, the difference between the hoop and the field, and what to do when a design is too large for your machine.
Hoop size versus embroidery field
The hoop is the frame that holds your fabric. The embroidery field, sometimes called the sewing field or embroidery area, is the space inside it that the needle can actually reach. The field is always smaller than the hoop's outer measurements, because the needle and foot need clearance from the frame.
Makers usually quote the field, not the hoop, in their specifications, but naming varies. One brand might call a hoop 5 x 7 inch while another describes a similar field in millimetres. Always check the stitching area in millimetres in the machine's specification before you buy designs or plan a project.
Common embroidery fields and what fits
Home embroidery machines are often grouped by the largest field they support. The table shows four common sizes and typical uses for each. Measurements are approximate, and individual hoops vary by maker.
| Field (mm) | Approx. inches | Good for |
|---|---|---|
| 100 x 100 | About 4 x 4 | Names, monograms, small motifs, children's clothes, patches |
| 130 x 180 | About 5 x 7 | Larger logos, tea towels, bag panels, small quilt blocks |
| 160 x 260 | About 6 x 10 | Cushion fronts, larger quilt blocks, tote bags, borders |
| 200 x 300 | About 8 x 12 | Jacket backs, large quilt blocks, wall hangings |
Check whether a design fits
To check fit, compare the design's width and height with the field. Remember that you can usually rotate a design by 90 degrees on screen, so a 170 x 120 mm design fits a 130 x 180 mm field once rotated. Leave a small margin around the design so the foot does not come close to the hoop frame.
Our hoop fit check does this for you: enter a design's width and height in millimetres or inches and it shows which common fields it fits, the smallest suitable hoop and how much spare margin you have. It is a quick way to see whether a downloaded design will work before you transfer it to the machine.
- 1
Find the design's stitched width and height, usually listed with the download or shown when you open it on the machine.
- 2
Convert inches to millimetres if needed by multiplying by 25.4.
- 3
Compare with your machine's field, trying the design both upright and rotated by 90 degrees.
- 4
Allow a small margin on each side for clearance.
- 5
If it does not fit, resize within safe limits or split the design.
What to do when a design is too large
If a design is slightly too big, most machines and software can resize it. Small changes are usually fine, but large reductions crowd stitches together and large enlargements leave gaps, because the stitch count does not always adjust. Many machines and programs recalculate stitches when resizing, but results vary, so test stitch on a scrap first.
For designs much larger than your field, split or multi hooping is the answer. The design is divided into sections, each stitched in a separate hooping, with alignment marks or placement stitches that help you line up the next section. Some machines and software support this with dedicated features and special hoops; others need you to split the design in software and align by hand. Careful marking and a stable stabiliser make the joins much less noticeable.
- Resize: suitable for small changes, ideally within the design's recommended range
- Split or multi hoop: divide the design into parts and stitch each in turn
- Larger machine: if you regularly need big designs, a larger field saves time and alignment work
Choosing a machine by embroidery area
For names, small motifs and children's clothing, a 100 x 100 mm field covers a lot of projects and is common on entry level machines. If you want to embroider cushion fronts, quilt blocks or bags, a machine with at least a 130 x 180 mm field gives much more freedom. Larger fields of 160 x 260 mm or 200 x 300 mm suit quilters and anyone stitching jacket backs or wall hangings.
Extra hoops can usually be bought separately, but only up to the machine's maximum field. Always buy hoops designed for your model, as fittings differ between brands and even between machines from the same maker. Our best embroidery machines for beginners and best sewing and embroidery machines guides list the embroidery area for each model.
Frequently asked questions
What is the most common embroidery hoop size? On entry level home machines, a field of about 100 x 100 mm (4 x 4 inches) is very common. Many mid range machines add a 130 x 180 mm (5 x 7 inch) field or larger.
Can I use a bigger hoop than my machine supports? No. The embroidery arm can only move as far as the machine's maximum field. A larger hoop either will not attach or will not be usable in full. Split hooping is the way to stitch larger designs on a smaller machine.
Are embroidery hoops interchangeable between brands? Generally not. Hoops are made to attach to a specific embroidery arm, so check that any hoop, including third party ones, is listed as compatible with your exact model.
How do I know the size of an embroidery design? The size is usually listed with the design download, and the machine shows it on screen when you open the file. You can then use the hoop fit check to see which fields it fits.
What you need
- Check price on AmazonAffiliate link
Brother PE900: 5 x 7 in field with wireless LAN
- Check price on AmazonAffiliate link
Janome MC1000: 241 designs, 300 stitches, USB
- Check price on AmazonAffiliate link
Janome MC9480QC: stitch regulator and ruler foot