Guide
Are embroidery machines hard to use?
Published
Note: This page contains affiliate links. If you buy through them we may earn a commission at no extra cost to you. Learn more
In short
Embroidery machines are not hard to use once you learn a few basics. The machine does the stitching automatically; your job is to hoop the fabric firmly with the right stabiliser, load a design, change thread colours when the machine stops and trim jump threads. Most beginners find hooping and choosing stabiliser the biggest learning curve, not the machine itself.
Products for this job
Compare all 5 productsBrother PE900: 5 x 7 in field with wireless LAN
Check price on AmazonAffiliate linkJanome MC100E: 274 designs, 140 x 140 mm field
Check price on AmazonAffiliate linkBrother Innov-is M380D: sews and embroiders, Disney designs
Check price on AmazonAffiliate link
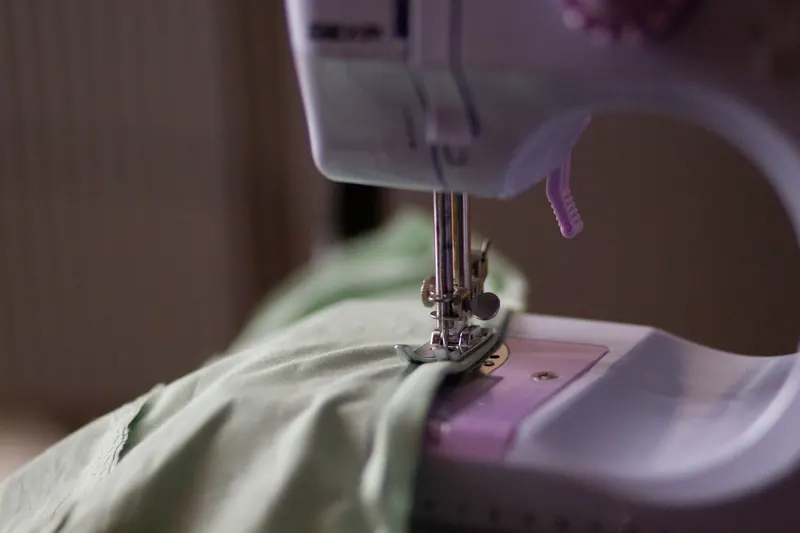
Watching a machine stitch a detailed design on its own can make embroidery look like magic, and a bit intimidating. In reality, home embroidery machines are designed to be approachable. There are no complex stitch settings to juggle while sewing, because the design file controls every stitch. What matters is the preparation. This explainer walks through a typical first project step by step, highlights the parts that take practice, and covers the most common beginner mistakes, so you know what to expect before you buy.
What the machine does and what you do
An embroidery machine moves a hoop of fabric under a needle that stitches up and down. The design file tells the machine where to move the hoop for every stitch, so you do not steer the fabric or set stitch lengths as you would on a sewing machine. Most home machines have a touchscreen or buttons to choose, size and position a design.
Your part is everything around that: choosing and hooping fabric with stabiliser, threading the machine and changing thread when it pauses for the next colour, keeping an eye on the stitching, and finishing the piece afterwards. On a single needle home machine, colour changes are manual. Multi needle machines hold several colours and change them automatically, but they cost much more and suit heavier use.
| Task | Machine | You |
|---|---|---|
| Stitching the design | Yes, automatically | Watch for thread breaks |
| Moving the fabric | Yes, via the embroidery arm | No |
| Hooping and stabiliser | No | Yes |
| Colour changes (single needle) | Stops and prompts | Rethread the new colour |
| Trimming jump threads | Some models trim automatically | Trim the rest by hand |
A first project, step by step
A simple project such as a name on a cotton tea towel is a good start. The steps below cover the usual process on a single needle home machine. Menus and button names vary between brands, so use your manual alongside them.
- 1
Attach the embroidery unit and fit an embroidery foot if your machine needs one, following the manual.
- 2
Wind or insert a bobbin of embroidery bobbin thread, which is finer than the top thread.
- 3
Choose a stabiliser to suit the fabric, for example tear-away for a stable cotton.
- 4
Hoop the fabric and stabiliser together so they are taut and smooth, like a drum skin, without stretching the fabric.
- 5
Attach the hoop to the embroidery arm and select the design on screen or load it from a USB stick or wireless connection.
- 6
Check the design size and position, and use the trace or outline function if your machine has one to confirm it fits.
- 7
Thread the first colour and start stitching, watching the first few stitches.
- 8
When the machine stops for a colour change, rethread with the next colour and continue.
- 9
Remove the hoop, trim jump threads and tear or cut away the excess stabiliser.
Note:Switch off the machine before attaching or removing the embroidery unit and before changing the needle or opening covers, and keep fingers clear of the hoop while the arm is moving. For motor, wiring or timing faults, use a qualified sewing machine engineer.
The parts that take practice
Hooping is the skill that most affects results. Fabric that is loose in the hoop shifts during stitching, causing gaps between outlines and fill or puckering around the design. Fabric that is stretched too tight springs back when unhooped and puckers. Practising on scraps until the fabric sits smooth and firm without distortion is time well spent.
Stabiliser choice is the other big one. Knits, towels, thin fabrics and dense designs each need different support. Our embroidery stabiliser guide explains which type suits which fabric. Matching design size to hoop size also matters, and the hoop sizes explainer shows what fits in common fields.
Finally, getting designs onto the machine can feel unfamiliar if you are new to file formats. Each brand reads particular formats, and our embroidery file formats guide explains how they work.
Common beginner mistakes
Most frustrations come from a small set of avoidable issues. Knowing them in advance makes the learning curve much gentler.
- Using too little stabiliser, or the wrong type for the fabric, which leads to puckering
- Hooping loosely, so the fabric moves and outlines no longer line up
- Using normal sewing thread in the bobbin, which can make the stitching bulky and show on top
- Choosing a design that is too dense for a thin fabric
- Forgetting to check the design fits the hoop and clears the hoop frame
- Using a worn needle; an embroidery needle suits most projects
Choosing a beginner friendly machine
Features that make embroidery easier for beginners include a clear touchscreen with on screen editing, built in designs and fonts, an automatic needle threader, a thread cutter and the ability to load designs by USB or wireless. A larger embroidery field gives more freedom but is not essential for first projects. Brother, Janome and other makers all produce entry level models.
If you also want to sew garments or quilts, a combination machine handles both, although you will need to switch between sewing and embroidery modes. Our best embroidery machines for beginners guide covers dedicated models, and best sewing and embroidery machines covers combination machines.
Frequently asked questions
How long does it take to learn an embroidery machine? Most people can stitch a simple built in design on their first day by following the manual. Getting consistently neat results on different fabrics takes longer, mainly because hooping and choosing stabiliser improve with practice.
How do you use a Brother embroidery machine? The general process is the same as on other brands: attach the embroidery unit, hoop the fabric with stabiliser, select or load a design, thread each colour when prompted and finish by trimming. The exact menus and buttons are in your model's manual.
Do I need software to use an embroidery machine? No. Home embroidery machines come with built in designs and fonts, and you can load ready made design files. Digitising software is only needed if you want to create your own designs from scratch.
Can a sewing machine do embroidery? A standard sewing machine can do decorative stitches but not hooped machine embroidery. For that you need a dedicated embroidery machine or a combination sewing and embroidery machine. Our embroidery machine vs sewing machine article explains the difference.
What you need
- Check price on AmazonAffiliate link
Brother PE900: 5 x 7 in field with wireless LAN
- Check price on AmazonAffiliate link
Janome MC1000: 241 designs, 300 stitches, USB
- Check price on AmazonAffiliate link
Brother FS100WT: 100 stitches plus wide table