How-to
How to machine quilt for beginners
Published
Note: This page contains affiliate links. If you buy through them we may earn a commission at no extra cost to you. Learn more
In short
To machine quilt as a beginner, baste the top, wadding and backing into a smooth sandwich, fit a walking foot and stitch straight lines with a slightly longer stitch, working from the centre outwards. Once that feels comfortable, lower or cover the feed dogs, fit a darning or free motion foot and practise gentle curves on a test sandwich before moving on to a real quilt.
Products for this job
Compare all 7 productsJanome MC9480QC: stitch regulator and ruler foot
Check price on AmazonAffiliate linkJanome MC6700P: 255 mm harp and AcuFeed Flex
Check price on AmazonAffiliate linkJanome Skyline S6 AE: 8.25 in workspace, 196 stitches
Check price on AmazonAffiliate link
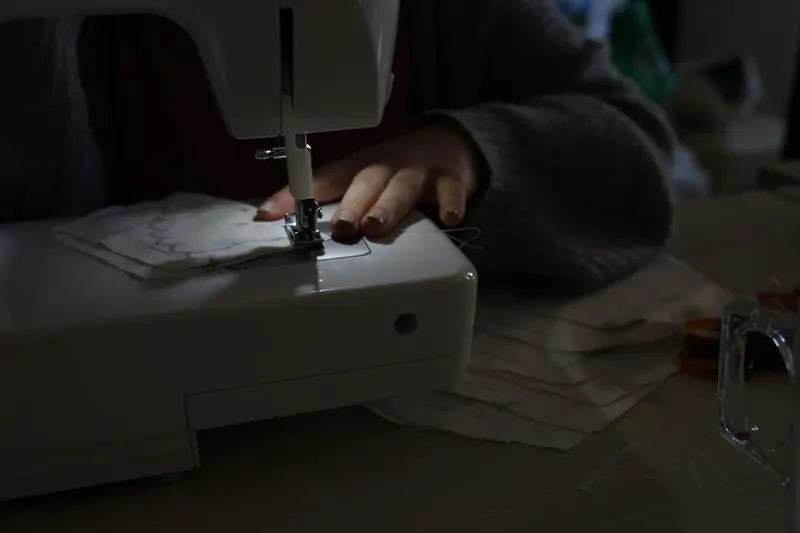
Machine quilting is the stage where a flat patchwork top becomes a proper quilt, and it often feels more daunting than the piecing. The good news is that you do not need a specialist quilting machine to start. An ordinary domestic sewing machine with a walking foot will handle straight line quilting on cot quilts, lap quilts and cushions. This guide walks through preparing the quilt sandwich, setting up the machine, stitching your first lines and trying simple free motion quilting, with tips to keep everything flat and pucker free.
What you need before you start
A quilt is three layers: the pieced top, the wadding (batting) in the middle and the backing fabric underneath. Cut the wadding and backing a few centimetres larger than the top on every side, because quilting draws the layers in slightly and you will trim the excess later. Press the top and backing well, with seams pressed flat, before you layer anything.
For the machine itself, the most useful extras are a walking foot (sometimes called an even feed foot), a darning or free motion foot, and a fresh needle. A quilting needle or a size 80/12 to 90/14 universal needle suits most cotton quilts; the needle size guide pairs needle sizes with fabrics if you are unsure. A larger throat space, the gap to the right of the needle, makes it easier to roll a big quilt through, which is one reason quilters look at the machines in our best sewing machines for quilting guide.
- Pieced quilt top, pressed
- Wadding and backing, each a few centimetres larger than the top
- Curved safety pins, basting spray or long tacking stitches
- Walking foot for straight lines
- Darning or free motion foot for free motion work
- New quilting or universal needle and good quality cotton or polyester thread
- Quilting gloves (optional) for grip during free motion
Step 1: baste the quilt sandwich
Basting holds the three layers together so they do not shift while you quilt. Shifting is what causes tucks and puckers on the back, so it is worth taking your time here. A large table or a clean floor gives you room to work.
Pin basting with curved safety pins is the most common method for beginners. Space the pins roughly a hand's width apart across the whole quilt. Spray basting is quicker on small projects; use it in a well ventilated room and follow the can's instructions. Thread basting with long hand stitches is slow but leaves nothing to snag the presser foot.
- 1
Lay the backing right side down and tape the edges to the table or floor so it is taut but not stretched.
- 2
Smooth the wadding on top, working from the centre outwards to remove ripples.
- 3
Place the quilt top right side up, centred, and smooth it the same way.
- 4
Pin or tack through all three layers, starting in the centre and working out towards the edges.
- 5
Check the back: it should be flat with no folds before you take it to the machine.
Step 2: set up the machine for straight line quilting
A walking foot has its own set of feed teeth that move the top layer in step with the feed dogs underneath. On a thick sandwich this stops the top layer creeping ahead of the backing, which is the main cause of puckers in straight line quilting. Most walking feet have an arm that sits over the needle clamp screw; the exact fitting varies by brand and shank height, so check your manual before you attach it.
Lengthen the stitch a little, often to around 3 mm, because a longer stitch looks neater over thick layers and is less likely to pucker. Leave the tension at its normal setting to start, then stitch a test line on a scrap sandwich made from the same fabrics and wadding. If the bobbin thread shows on top or loops appear underneath, adjust the upper tension in small steps.
Note:Switch off and unplug the machine before changing the needle or fitting a walking foot. If the machine makes grinding noises, stalls or stops stitching evenly, have a qualified sewing machine engineer look at the motor or timing rather than opening the casing yourself.
Step 3: quilt your first straight lines
Stitch in the ditch is the gentlest place to begin. You sew directly in the seam lines of the patchwork, so the stitches sink out of sight and any wobbles are hidden. After that, try lines a set distance from the seams using the edge of the walking foot or a quilting guide bar as a reference.
Start in the centre of the quilt and work outwards, which pushes any slack towards the edges rather than trapping it in the middle. Roll the side of the quilt that sits under the machine arm into a tight tube so it fits through the throat space, and support the weight of the quilt on a table behind and to the left of the machine so it does not drag on the needle.
Secure the thread ends by taking a few very short stitches at the start and end of each line, or leave long tails and tie them off and bury them with a hand needle for the neatest finish. Stop with the needle down whenever you need to reposition your hands or the quilt.
Step 4: first steps in free motion quilting
In free motion quilting you control both the direction and the stitch length by moving the fabric yourself. To do this you drop the feed dogs (or cover them with a plate if your machine cannot lower them) and fit a darning or free motion foot that hops lightly over the fabric. On most machines the stitch length setting no longer matters once the feed dogs are down, because your hand speed decides the length.
The skill is matching hand speed to machine speed. Run the machine at a steady, moderate pace and move the quilt smoothly. If the stitches are tiny, your hands are moving too slowly; if they are long and jagged, you are moving too fast. Some machines offer a stitch regulator that helps even this out; our explainer on what a stitch regulator does covers how they work.
Practise on test sandwiches of about 30 x 30 cm before working on a quilt. Begin with loose meandering curves, sometimes called stippling, that never cross. Loops and simple shapes come next. Keep your shoulders relaxed and pause with the needle down to reposition your hands every few centimetres.
Common beginner problems and fixes
Most early problems come from the layers moving, the tension being off, or the machine being asked to push too much weight. The table below covers the usual ones.
Balanced
Upper too tight
Upper too loose
| Problem | Likely cause | What to try |
|---|---|---|
| Puckers or tucks on the back | Loose basting or the top layer creeping | Baste more closely, use a walking foot, quilt from the centre out |
| Loops of thread underneath | Upper tension too loose or the presser foot not lowered | Lower the foot or darning foot, rethread, raise upper tension slightly |
| Bobbin thread showing on top | Upper tension too tight | Lower the upper tension in small steps and test on a scrap |
| Skipped stitches in free motion | Blunt or wrong needle, or moving too fast | Fit a new quilting needle and slow your hands |
| Uneven free motion stitches | Hand speed not matching machine speed | Use a steady pedal speed and practise on test sandwiches |
Frequently asked questions
Can I machine quilt on an ordinary sewing machine? Yes. Any reliable domestic machine can quilt cushions, cot quilts and lap quilts, especially with a walking foot. Larger quilts are easier with a wider throat space, and a machine able to lower its feed dogs makes free motion simpler. Our guide to quilting machines versus sewing machines explains the differences.
What stitch length should I use for machine quilting? For straight line quilting with a walking foot, a stitch of around 2.5 to 3.5 mm suits most cotton quilts. In free motion quilting the feed dogs are lowered, so the length depends on how fast you move the fabric rather than the dial setting.
Do I need a walking foot to quilt? It is not strictly required for small, thin projects, but it makes straight line quilting far easier because it feeds the top and bottom layers evenly. Check your manual or the maker's accessory list to find the right walking foot for your model.
Should I start quilting from the middle or the edge? Start from the centre and work outwards. This pushes any loose fabric towards the edges where it can be trimmed, rather than trapping it in the middle as a pucker.
What you need
- Check price on AmazonAffiliate link
Janome MC9480QC: stitch regulator and ruler foot
- Check price on AmazonAffiliate link
Janome JW8100: 100 stitches, 7 buttonhole styles
- Check price on AmazonAffiliate link
Brother SH40: 40 stitches, 5 one-step buttonholes