Fix
Thread bunching under the fabric: causes and fixes
Published
Note: This page contains affiliate links. If you buy through them we may earn a commission at no extra cost to you. Learn more
In short
Thread bunching underneath, often called a bird's nest, almost always comes from the upper thread, not the bobbin. The thread has usually missed the take-up lever or is not sitting between the tension discs, so it has no tension. Remove the upper thread, raise the presser foot, turn the handwheel until the take-up lever is at its highest point and rethread the whole route.
Products for this job
Compare all 7 productsBrother SH40: 40 stitches, 5 one-step buttonholes
Check price on AmazonAffiliate linkJanome 725S: 25 stitches, extra-high foot lift
Check price on AmazonAffiliate linkJuki HZL-LB5020: needle up/down and speed override
Check price on AmazonAffiliate link
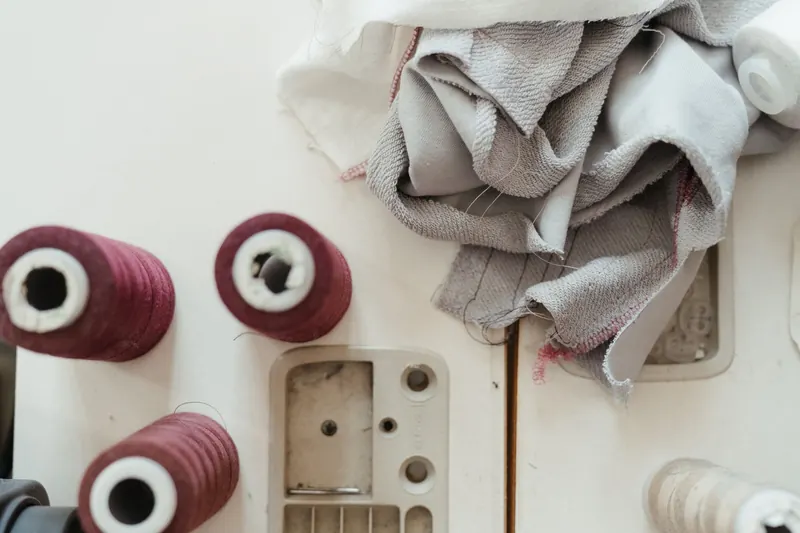
You start sewing, the seam feels heavy, and when you lift the fabric there is a tangled knot of thread underneath. It is one of the most common sewing machine problems, and because the mess is on the underside, most people blame the bobbin first. In fact the cause is usually above the fabric. This guide explains why, walks through the checks in the order most likely to fix it, and covers the less common causes when rethreading does not help.
Why the tangle is underneath but the fault is on top
Each stitch is formed when the hook underneath catches a loop of upper thread and wraps it around the bobbin. The take-up lever then pulls that loop back up tight, and the tension discs control how much thread it can draw from the spool. If the upper thread has slipped out of the take-up lever or is riding outside the tension discs, nothing pulls the loop tight. The slack thread is left behind under the fabric, and after a few stitches it builds into a nest.
So the nest is upper thread with no tension, sitting on the bobbin side. That is why rethreading the top fixes it far more often than changing the bobbin.
- 1Spool pin
- 2Thread guide
- 3Down the tension channel
- 4Up through the take-up lever
- 5Down to the needle bar guide
- 6Needle eye, front to back
- Presser foot up, take-up lever at its highest point.
Fix 1: rethread the upper thread properly
Cut the thread near the spool and pull it out through the needle, rather than back up through the machine, so you do not drag lint into the discs. Then rethread from the start, following the numbered guides on your machine. Our guide to threading a sewing machine explains each stage.
- 1
Raise the presser foot so the tension discs open.
- 2
Turn the handwheel towards you until the take-up lever is at its highest point.
- 3
Take the thread through the top guide, down the right channel and up the left, holding it lightly near the spool so it seats in the discs.
- 4
Check you can see the thread passing through the eye of the take-up lever.
- 5
Finish through the needle bar guide and the needle eye.
- 6
Lower the presser foot and gently pull the thread above the needle. You should feel firm resistance. If it pulls freely, the thread is not in the discs.
Note:Switch the machine off while rethreading and changing needles, and keep fingers away from the needle area when testing.
Fix 2: check the presser foot and starting technique
Sewing with the presser foot up is a common slip, especially when starting a seam. With the foot raised the tension discs are open, so the result is the same as missing them: loops underneath. Always lower the foot before pressing the pedal.
Hold both thread tails towards the back for the first two or three stitches. If the tails are loose, the first stitches can pull the upper thread down into the bobbin area and start a tangle. Starting with the needle lowered into the fabric also helps.
Fix 3: check the bobbin and bobbin area
If rethreading the top does not cure it, look underneath. Remove the bobbin and check it is the correct type for your machine, is evenly wound and is inserted so it turns in the direction shown on the machine or in your manual. Make sure the thread is pulled through the slot and under the bobbin case tension spring. Our guide to winding and inserting a bobbin covers this step by step.
Clear any lint or thread fragments from around the bobbin case and feed dogs with a small brush. Remove any trapped thread from the nest carefully, cutting it rather than yanking, so you do not damage the hook area.
| Check | What to look for | Fix |
|---|---|---|
| Take-up lever | Thread not visible in the lever's eye | Rethread with lever at its highest point |
| Tension discs | Thread pulls freely with the foot down | Rethread with presser foot up |
| Presser foot | Sewing started with the foot raised | Lower the foot before sewing |
| Bobbin | Wrong type, wrong direction or loose winding | Use the correct bobbin and reinsert |
| Needle | Bent, blunt or wrong size | Fit a new needle that suits the fabric |
Fix 4: needle, thread and tension
A bent or blunt needle, or one inserted the wrong way round, can upset loop formation. Fit a new needle with the flat side of the shank facing the back on most domestic machines and push it fully up before tightening the screw. Use our needle size guide to match the size and point to your fabric.
Only once the threading is correct should you think about the upper tension dial. Turning it up to hide a threading fault does not work, because thread that misses the discs ignores the dial completely. If the stitches are still unbalanced after rethreading, see our guide on how to adjust sewing machine tension.
When to get the machine serviced
If the nest returns even with correct threading, a new needle, a correctly inserted bobbin and a clean bobbin area, something mechanical may be out of place, such as a damaged bobbin case, a burr on the hook or a timing fault after a needle strike. These need a qualified sewing machine engineer. Persistent problems on an older machine can also be a reason to consider an upgrade; our guide to the best sewing machines for beginners is a good starting point.
Frequently asked questions
Is a bird's nest under the fabric a bobbin problem? Usually not. It nearly always means the upper thread has no tension because it missed the take-up lever or tension discs. Rethread the top with the presser foot up before changing anything underneath.
Why does my Brother sewing machine keep bunching thread underneath? The cause is the same as on other brands: upper threading first, then the bobbin and needle. Follow the numbered guides on your machine and check the bobbin direction against your manual.
Will turning up the tension stop the bunching? Not if the thread has missed the discs, because the dial cannot act on thread that is not between them. Fix the threading first, then adjust tension only if stitches are still unbalanced.
Why does the thread bunch only at the start of a seam? The thread tails were probably too short or not held. Leave about 10 to 15 cm, hold both tails towards the back and start with the needle in the fabric.
What you need
- Check price on AmazonAffiliate link
Brother SH40: 40 stitches, 5 one-step buttonholes
- Check price on AmazonAffiliate link
Brother FS100WT: 100 stitches plus wide table
- Check price on AmazonAffiliate link
Janome JW8100: 100 stitches, 7 buttonhole styles