How-to
How to thread a sewing machine
Published
Note: This page contains affiliate links. If you buy through them we may earn a commission at no extra cost to you. Learn more
In short
Raise the presser foot, turn the handwheel towards you until the take-up lever is at its highest point, then take the thread from the spool pin through the top guide, down the tension channel, up and through the take-up lever, down past the needle bar guide and through the needle eye from front to back. Finally, hold the upper thread and turn the handwheel once to pull up the bobbin thread.
Products for this job
Compare all 7 productsBrother SH40: 40 stitches, 5 one-step buttonholes
Check price on AmazonAffiliate linkJanome 725S: 25 stitches, extra-high foot lift
Check price on AmazonAffiliate linkJuki HZL-LB5020: needle up/down and speed override
Check price on AmazonAffiliate link
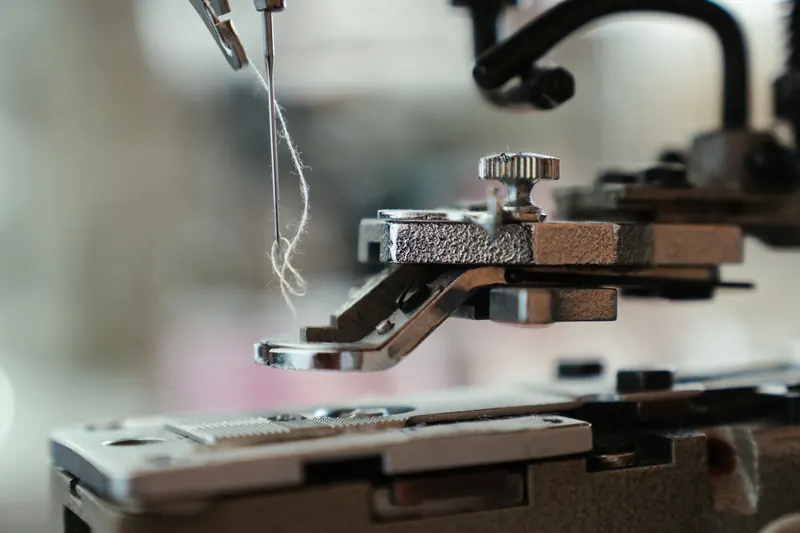
Threading is the one job you will do every time you sit down to sew, and most stitching problems start with a thread that has slipped out of place. The good news is that almost every domestic machine follows the same basic route, usually marked with numbers or arrows on the body. This guide walks through that route, explains why the two easy-to-miss steps (presser foot up and take-up lever high) matter so much, and shows how to use the built-in needle threader and bring up the bobbin thread.
Before you start: two settings that matter
Switch the machine off before threading if it has a power switch, so a nudge on the pedal cannot start the needle moving while your fingers are near it. Then do two things that decide whether the thread will actually sit where it should.
First, raise the presser foot. On most machines lifting the foot opens the tension discs. If the foot is down, the discs are clamped shut and the thread rides over the top of them instead of settling between them, which gives you no upper tension and a tangle of loops under the fabric. Second, turn the handwheel towards you until the take-up lever is at its highest point. On many machines the needle also stops at its highest position here, which gives the thread a clear path through the lever's eye and lines the needle up for the threader.
- Presser foot up, so the tension discs are open
- Take-up lever at its highest point, turned by hand towards you
- A bobbin wound and inserted (see our bobbin guide)
- A fresh needle that suits your fabric
The upper thread path, step by step
The exact guides vary between brands and models, so treat the steps below as the general principle and follow the numbers printed on your machine and in your manual. On most domestic machines the route looks like this.
- 1Spool pin
- 2Thread guide
- 3Down the tension channel
- 4Up through the take-up lever
- 5Down to the needle bar guide
- 6Needle eye, front to back
- Presser foot up, take-up lever at its highest point.
- 1
Place the spool on the spool pin and fit a spool cap a little larger than the end of the reel, so the thread cannot catch on the rim.
- 2
Lead the thread to the left and through the top thread guide.
- 3
Pull it down the right-hand channel, around the U-turn at the bottom and up the left-hand channel. Hold the thread lightly near the spool so it seats into the tension discs.
- 4
At the top of the left channel, bring the thread from right to left through the eye or slot of the take-up lever. You should see it sitting in the lever, not behind it.
- 5
Take the thread down the left channel to the needle bar thread guide just above the needle.
- 6
Thread the needle eye from front to back on most machines, or use the automatic needle threader. Pull about 10 to 15 cm of thread through and lay it under the presser foot towards the back.
Using the built-in needle threader
Many machines from Brother, Janome, Singer and others include a lever-operated needle threader on the left of the needle bar. The principle is similar on most models: lower the needle to its highest point, pull the threader lever down, hook the thread around the guide as shown on the machine, then let the lever return. A tiny hook passes through the needle eye, catches the thread and pulls a loop out at the back, which you then draw through by hand.
If the threader misses, the needle is often not quite at its highest point, or the needle is bent or not pushed fully up into the clamp. Threaders are designed for the common needle sizes, so very fine needles, twin needles and some specialist needles usually need threading by hand. Check your manual for the sizes your threader supports. A needle threader is delicate, so never force the lever if it meets resistance.
Bringing up the bobbin thread
With the upper thread through the needle and the bobbin in place, hold the end of the upper thread lightly in your left hand. Turn the handwheel towards you one full turn, so the needle goes down and comes back up to its highest point. The upper thread catches the bobbin thread underneath and brings up a loop.
Pull the loop out with your fingers or the tip of a pair of scissors, then lay both thread ends under the presser foot and towards the back of the machine. Leave about 10 to 15 cm of each. Many drop-in bobbin machines are designed so you can skip this step and simply start sewing, because the bobbin thread is drawn up automatically; your manual will say whether yours works that way.
Quick checks if it still will not sew properly
If stitches look wrong straight after threading, the fastest fix is nearly always to take the upper thread out completely and rethread with the presser foot up. A loop of thread underneath the fabric usually means the thread missed the take-up lever or the tension discs. Our guide to thread bunching under the fabric covers that in more detail.
Also check that the needle suits the fabric and thread. A needle that is too fine for the thread makes it shred, and a blunt needle causes skipped stitches. Our needle size guide pairs common fabrics with metric and US needle sizes and point types.
| What you see | Likely cause | First thing to try |
|---|---|---|
| Big loops or a nest under the fabric | Thread missed the take-up lever or tension discs | Rethread with the presser foot up |
| Thread pulls out of the needle on the first stitch | Tails too short or not held | Leave 10 to 15 cm and hold the tails for the first few stitches |
| Needle threader will not catch | Needle not at highest point or slightly bent | Turn the handwheel to raise the needle, fit a new needle |
| Thread snaps at the spool | Thread catching on the reel rim | Use a spool cap a little larger than the reel end |
Choosing a machine that is easy to thread
If threading is a constant struggle, the machine can make a difference. Clear numbered thread guides, a top drop-in bobbin and a reliable automatic needle threader all make set-up quicker, and some computerised models add a button that cuts and holds threads. Our guide to the best sewing machines for beginners points out these features, and the best sewing machines with a thread cutter guide covers models with automatic trimming.
Frequently asked questions
Why must the presser foot be up when threading? On most machines raising the foot opens the tension discs so the thread can drop between them. If you thread with the foot down, the thread sits on top of the closed discs, there is no upper tension and you get loops underneath the fabric.
Which way does thread go through the needle? On most domestic machines it goes from front to back, because the flat side of the needle shank faces the back. Some older or specialist machines thread from side to side, so check your manual if the thread guide above the needle points another way.
Do I need to bring up the bobbin thread every time? On many front-loading and older machines, yes. Many modern drop-in bobbin machines are designed to pick up the bobbin thread on their own once you start sewing. Your manual will show which method your model uses.
How do I thread a Brother sewing machine? Brother machines follow the same general route described here, with numbered guides printed on the machine. Follow those numbers and the threading diagram in your manual, as the guide positions differ between models.
What you need
- Check price on AmazonAffiliate link
Brother SH40: 40 stitches, 5 one-step buttonholes
- Check price on AmazonAffiliate link
Janome 5270QDC: 270 stitches, 12 buttonholes, knee lifter
- Check price on AmazonAffiliate link
Janome JW8100: 100 stitches, 7 buttonhole styles