How-to
How to use a sewing machine: a beginner's first hour
Published
Note: This page contains affiliate links. If you buy through them we may earn a commission at no extra cost to you. Learn more
In short
Set the machine on a firm table, fit a fresh needle, wind and insert a bobbin, then thread the top with the presser foot up. Sew slow, straight lines on folded scrap cotton at a medium stitch length, use reverse for a few stitches at each end, and practise pivoting at corners with the needle down. An hour of this builds the control you need for a first project.
Products for this job
Compare all 7 productsBrother SH40: 40 stitches, 5 one-step buttonholes
Check price on AmazonAffiliate linkJanome 725S: 25 stitches, extra-high foot lift
Check price on AmazonAffiliate linkJuki HZL-LB5020: needle up/down and speed override
Check price on AmazonAffiliate link
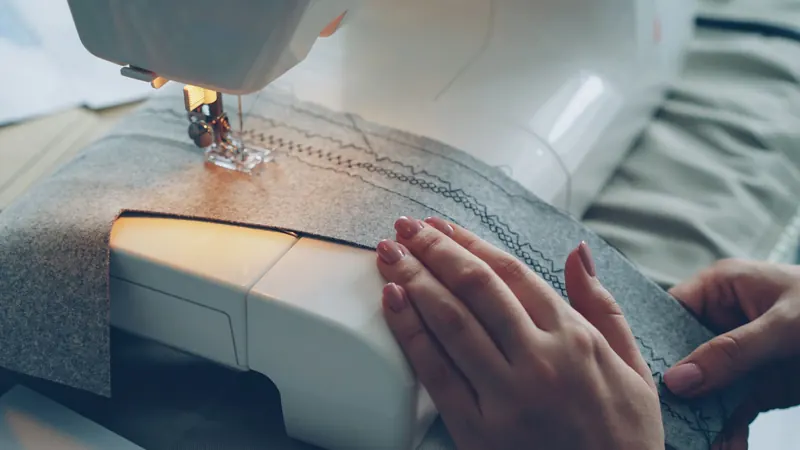
A new sewing machine can feel like a lot of dials and levers, but you only need a handful of them to start. This first-hour plan takes you from unboxing to sewing neat seams, corners and curves on scrap fabric. It works for mechanical and computerised machines from any brand, because the basic controls are much the same. Keep your manual nearby, as it shows where each part sits on your particular model.
Setting up: the first 15 minutes
Place the machine on a solid table at a height where your forearms rest comfortably, with good light over the needle area. Put the foot pedal on the floor where your foot reaches it without stretching. Check that the needle is the right kind for your fabric: for practice on cotton, a universal 80/12 or 90/14 is a common choice, and our needle size guide matches other fabrics to sizes.
Next, wind a bobbin and insert it, then thread the upper thread with the presser foot raised and the take-up lever at its highest point. If you have not done this before, follow our guides to winding a bobbin and threading a sewing machine. Bring up the bobbin thread if your machine needs it and lay both tails towards the back.
- Folded scraps of medium weight woven cotton, not stretchy fabric
- Thread in a colour that shows clearly on the fabric
- Fabric scissors and a seam ripper
- Pins or clips and a ruler or tape measure
Your first test seams on scrap
Fold a piece of cotton in half so you are sewing through two layers. Slide it under the presser foot with the edge lined up against the 1.5 cm seam guide marked on the needle plate, which is a common seam allowance for dressmaking. Lower the presser foot, hold the thread tails lightly for the first few stitches, then press the pedal gently.
Let the machine move the fabric. Your hands only guide it, one in front and one to the side, and should never push or pull. Pulling can bend the needle and make it strike the plate. Watch the edge of the fabric against the seam guide rather than the needle, and keep the speed slow until your lines stay straight. Many computerised machines have a speed slider, which is handy for beginners because it caps the top speed.
- 1
Lower the needle into the fabric by turning the handwheel towards you.
- 2
Lower the presser foot.
- 3
Sew slowly along the seam guide for 15 to 20 cm.
- 4
Stop with the needle up, raise the presser foot and draw the fabric back.
- 5
Cut the threads, leaving short tails, and look at both sides of the seam.
Stitch length and width explained
Stitch length controls how far the fabric moves between stitches. A setting around 2.5 mm suits general seams on most fabrics. Shorter stitches are stronger but harder to unpick; longer ones, around 4 to 5 mm, are used for tacking and gathering. If the length is set to zero, the fabric will not move at all.
Stitch width controls how far the needle swings from side to side on zigzag and decorative stitches. For straight stitch it should be at zero or the setting your manual gives, with the needle in the centre. Try a row of zigzag on scrap at a few widths and lengths to see the difference, then return to straight stitch.
| Job | Stitch | Length | Width |
|---|---|---|---|
| General seam on cotton | Straight | About 2.5 mm | 0 |
| Tacking or gathering | Straight | About 4 to 5 mm | 0 |
| Neatening a raw edge | Zigzag | About 2 mm | About 3 to 5 mm |
| Topstitching | Straight | About 3 mm | 0 |
Reversing to lock the seam
Seams can unravel at the ends unless you secure them. The usual way is to backstitch: sew three or four stitches forward, press and hold the reverse lever or button for three or four stitches, then release it and sew forward to the end. Repeat at the far end of the seam. Some computerised machines also have a lock stitch button that ties off the seam in place.
Practise this until it becomes automatic, because nearly every seam you sew will start and end this way. If the reverse stitches sit untidily on top of each other, that is normal for a beginner and gets neater with practice.
Turning corners and following curves
To turn a sharp corner, sew to the point where you want to turn and stop with the needle down in the fabric. Raise the presser foot, pivot the fabric around the needle, lower the foot and carry on. Draw a square on scrap with chalk and sew around it to practise. The needle down position, available as a button on many computerised machines, makes pivoting easier.
For curves, slow down and make small adjustments as you go, keeping the edge against the seam guide. On tight curves you can stop with the needle down, lift the foot slightly and turn a little. Draw a few wavy lines and follow them until you feel in control.
What to do if something goes wrong
Most first-day problems come from threading. If you see loops or a tangle underneath, rethread the upper thread with the presser foot up; our guide to thread bunching under the fabric explains why. If the fabric will not move, check the stitch length is not zero and that the feed dogs are raised. If stitches look uneven on both sides, read how to adjust sewing machine tension before turning any dials.
If you are still choosing a machine, look for clear threading guides, a drop-in bobbin and a speed control. Our guide to the best sewing machines for beginners compares models with those features, and the best computerised sewing machines guide covers machines with needle down and lock stitch buttons.
Frequently asked questions
What should I sew first? Practise on folded scrap cotton, then try something with straight seams such as a cushion cover, a tote bag or a drawstring pouch. Woven cotton is easier to handle than stretch or slippery fabrics.
How fast should I sew as a beginner? Slowly enough that you can steer accurately. Press the pedal gently, and use the speed slider if your machine has one. Speed comes naturally once your seams stay straight.
Should I sew over pins? It is safer not to. The needle can hit a pin and break or bend. Remove pins just before they reach the presser foot, or use clips instead.
How do I set up a Brother or Singer machine for the first time? The steps are the same as above: fit the needle, wind and insert the bobbin, thread the top with the presser foot up and test on scrap. The exact positions of guides and buttons differ, so follow your model's manual.
What you need
- Check price on AmazonAffiliate link
Brother SH40: 40 stitches, 5 one-step buttonholes
- Check price on AmazonAffiliate link
Janome JW8100: 100 stitches, 7 buttonhole styles
- Check price on AmazonAffiliate link
Janome 5270QDC: 270 stitches, 12 buttonholes, knee lifter