Guide
One-step vs four-step buttonholes explained
Published
Note: This page contains affiliate links. If you buy through them we may earn a commission at no extra cost to you. Learn more
In short
A four-step buttonhole is sewn in four stages, side, end, side, end, with you turning a dial and judging the length by eye. A one-step buttonhole uses a special foot that holds the button and senses the length, so the machine sews the whole buttonhole automatically. One-step buttonholes come out the same size each time; four-step ones depend on your judgement.
Products for this job
Compare all 6 productsJanome JW8100: 100 stitches, 7 buttonhole styles
Check price on AmazonAffiliate linkJanome 360DC: 60 stitches, 7 mm zigzag
Check price on AmazonAffiliate linkBrother FS200CE: 200 stitches with walking foot
Check price on AmazonAffiliate link
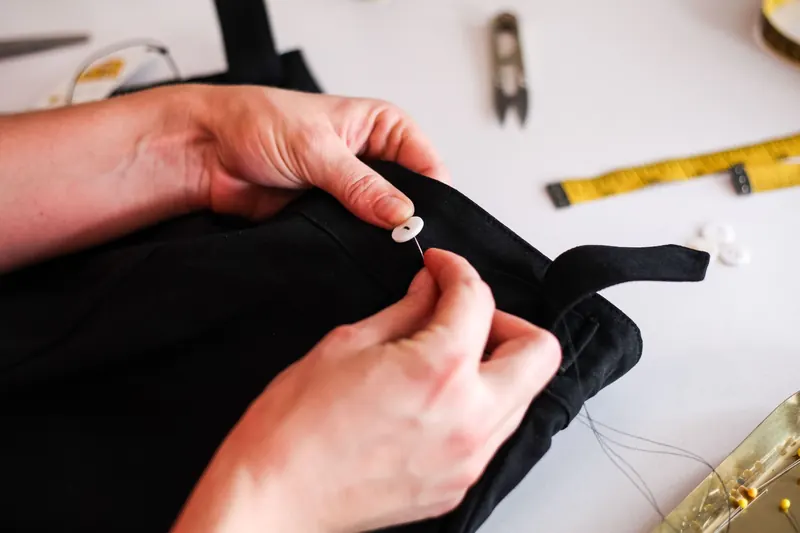
Buttonholes put many new sewers off, but modern machines have made them far easier. Whether your machine sews a one-step or four-step buttonhole affects how quick and consistent they are, especially on a shirt or cardigan with a long row of buttons. This guide explains how each method works, which types of machine use which, and how to get neat results either way.
How a four-step buttonhole works
Four-step buttonholes are common on mechanical machines. The buttonhole dial has four positions, usually marked with small symbols. You sew one side as a narrow zigzag, switch to the bar tack setting for one end, switch again to sew the second side in reverse or forwards depending on the machine, then finish with the other bar tack. You decide the length by watching marks on the fabric or the foot.
The method works well and gives you full control, but each buttonhole relies on stopping at exactly the right point. Across a row of buttonholes, small differences in length and density are easy to see. Marking the start and end of every buttonhole clearly with chalk helps a lot.
- 1
Mark the buttonhole length on the fabric, slightly longer than the button.
- 2
Fit the buttonhole foot and set the dial to step one; sew the first side to the end mark.
- 3
Turn to step two and sew a few bar tack stitches.
- 4
Turn to step three and sew the second side back to the start mark.
- 5
Turn to step four, sew the final bar tack, then secure the threads.
How a one-step buttonhole works
One-step buttonholes are standard on most computerised machines and on many newer mechanical models. They use a long buttonhole foot with a sliding button holder at the back. You place the button in the holder, which sets the length, then pull down a buttonhole lever beside the needle. As the foot moves, it touches the lever at each end, and the machine switches between sides and bar tacks automatically.
Because the size comes from the button in the foot, every buttonhole in the row is the same length, and the stitch density stays even. Many computerised machines also offer several buttonhole styles, such as rounded, keyhole and stretch buttonholes, all sewn in one step. Our best computerised sewing machines guide covers models with a range of buttonhole styles.
All purpose zigzag
Zipper
Blind hem
Buttonhole slider
Walking foot
Rolled hem
Low shank feet measure about 19 mm from the bottom of the foot to the screw, high shank about 25 mm: check the manual before buying feet.
One-step vs four-step at a glance
This summary compares the two methods in general terms. Details vary by model, so check your manual for the buttonhole styles and steps your machine offers.
| One-step | Four-step | |
|---|---|---|
| How length is set | Button in the foot's holder | By eye, using marks on the fabric |
| Consistency | Same size each time | Depends on where you stop |
| User input | Select stitch, lower lever, sew | Turn the dial at each of four stages |
| Found on | Most computerised and many mechanical machines | Many basic mechanical machines |
| Buttonhole styles | Often several | Usually one standard style |
Tips for neat buttonholes on any machine
Good buttonholes depend as much on preparation as on the machine. Always sew a test buttonhole on a scrap of the same fabric with the same interfacing, then check that the button passes through before sewing the real thing.
If your buttonhole foot stalls or the stitches bunch at the start, check the fabric is feeding freely and that the foot is not catching on thick seams. On one-step machines, remember to pull the buttonhole lever down; forgetting it is a common reason the machine keeps sewing past the end.
- Interface the area so the fabric is firm and the stitches do not pull in.
- Use a new needle suited to the fabric and good quality thread.
- Use a stabiliser under fine or stretchy fabric.
- Cut carefully with a buttonhole chisel or small sharp scissors, placing a pin across each end as a stop.
- Seal the cut edges with a little fray stop on fabrics that fray easily.
Note:Switch off and unplug the machine before changing feet or needles. If the buttonhole lever or foot sensor stops working, check your manual first and contact a qualified sewing machine engineer for any internal fault.
Which should you choose?
If you sew garments with several buttons, such as shirts, blouses and cardigans, a one-step buttonhole saves time and gives a more uniform result. It is one of the most useful features to look for in a dressmaking machine, and our best sewing machines for dressmaking guide is a good starting point.
If you rarely sew buttonholes, a four-step machine is perfectly capable with a little practice, and the simpler mechanics suit many beginners. Look at the best sewing machines for beginners to see both types, and check product details for 'one-step buttonhole' in the feature list.
Frequently asked questions
What is a one-step buttonhole? It is a buttonhole the machine sews automatically in one go, using a foot that holds the button to set the length and a lever that tells the machine when to switch direction.
Is a four-step buttonhole hard to sew? Not once you have practised. Mark the length clearly, sew slowly and stop accurately at each mark. The main drawback is keeping a row of buttonholes the same size.
Can I sew a one-step buttonhole on a mechanical machine? Yes, if it has a one-step buttonhole function. Many newer mechanical machines include it, while older or basic models may only offer four-step. Check the specification.
Why are one-step buttonholes all the same size? The button sits in the foot and sets the slider length, and the machine reverses each time the foot reaches the lever. So every buttonhole made with the same button matches.
What you need
- Check price on AmazonAffiliate link
Janome JW8100: 100 stitches, 7 buttonhole styles
- Check price on AmazonAffiliate link
Janome 5270QDC: 270 stitches, 12 buttonholes, knee lifter
- Check price on AmazonAffiliate link
Brother SH40: 40 stitches, 5 one-step buttonholes